Decking: How to Install Deck Boards With the CAMO Hidden Deck Fastening System
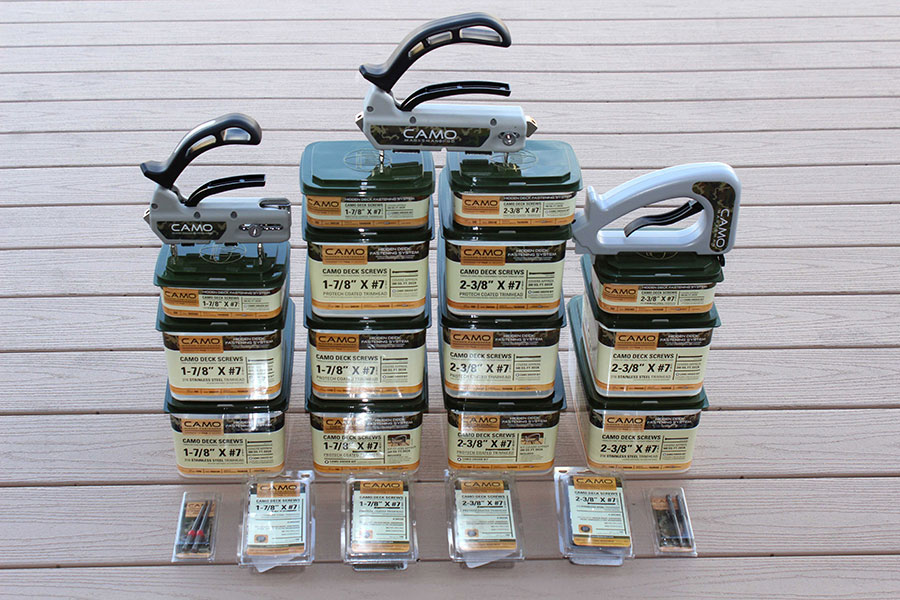
Decking: How to Install Deck Boards With the CAMO Hidden Deck Fastening System DIY Deck PlansThe CAMO hidden deck fastening system uses a patented and warranted screw that is unique to them. Rather than use a hidden bracket, or other joint hardware, CAMO takes a direct approach, attaching the deck boards to the frame of the deck itself, the strongest possible joint.
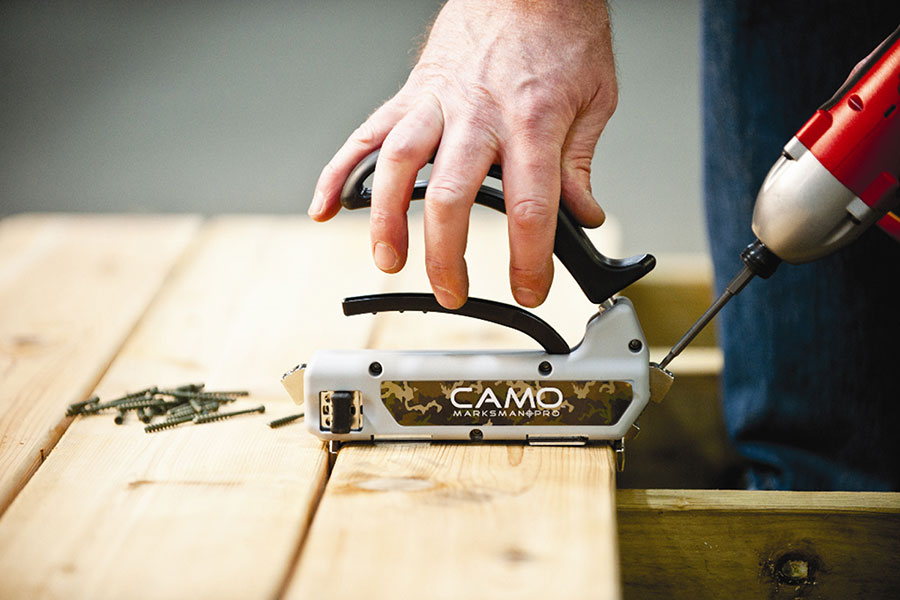
To make the screw hidden, the CAMO approach is to drive the fastener on an angle, through the edge of the deck board, into the frame below. To achieve this, CAMO has developed a proprietary guide tool to work in conjunction with their specialty fasteners.

The tool has a stop that rests against one edge of the deck board and a top handle that allows pressure to be applied to pull the tool snug against the board to prevent slippage. If you have ever worked with pocket screws, you may be familiar with similar processes.
Since the guide is used resting on top of the board, with only a thin stop extending down into the groove between boards, it allows both edges to be fastened with the board in position, even along the edge that rests next to the last board installed.
The CAMO screw can be driven with a standard cordless drill or screw gun, using their patented tips shaped to fit their drive head and made long enough to run through the guide. One key feature is the CAMO’s small screw head. This allows the screw to run between boards and leave a very small hole above the head, even when it is counter-sunk.
- Mark your boards with a pencil over the center of the joist below.
- Position the board as you usually would, using spacers along the most recently attached board for a straight gap.
- Starting on the outside edge, away from the installed decking, position the CAMO tool aligned to the mark and drive one fastener into each joist along the whole edge.
- Once the outside edge is fastened down, turn your tool around and install fasteners down the opposite edge.
- To remove a damaged board, simply reverse the process. Use the tool to align the bit, press firmly on the drill to engage the head and with the drill in reverse, back the screw out of the board. Repeat until all screws are removed
