Decking: How to Install Pattern Boards
Decking: How to Install Pattern Boards DIY Deck PlansPattern boards are a great way to add visual interest to your deck and elevate it above the standard DIY deck. While neat rows of decking can give a clean and simple appearance, adding some patterns to your decking can also simplify installation on large decks that run more than one direction, or even help maximize deck materials to reduce cost.
Using decking as a pattern board
Pattern boards typically fall where two sections of decking are joined, end to end. The pattern board can be installed perpendicular to the prevailing installation at 90° if the boards are in line with each other. In this case, no special framing is needed. This works well to make use of shorter lengths of lumber where just a few inches of reach are needed.

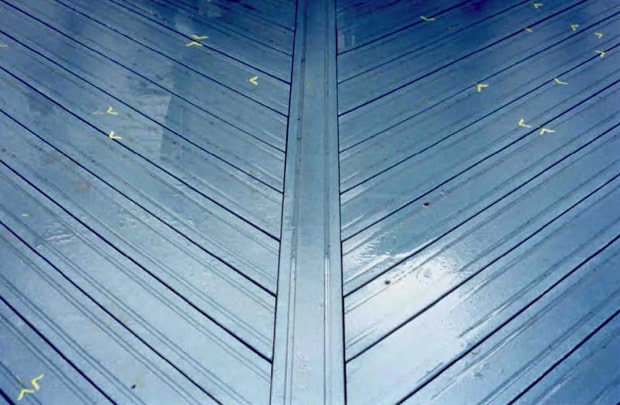
Where two sections of decking meet at a mitered corner, a pattern board, laid diagonally to join the two sections makes for neat joints and provides visual interest.

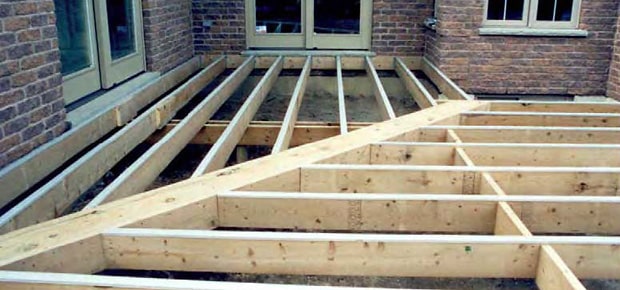
- Determine where the pattern board will lie while constructing your frame.
- Add two diagonal joists spanning the distance of the pattern board, before installing standard joists in the two adjoining sections. They should be spaced a few inches wider than the width of the deck board. In the illustration, a 2x8 is used between them, requiring a 7 ½” space.
- Install the cap board between your two diagonal joists to support the pattern board.
- Miter the joists in the two adjoining sections to match up to the diagonal joists. Space them as you normally would.
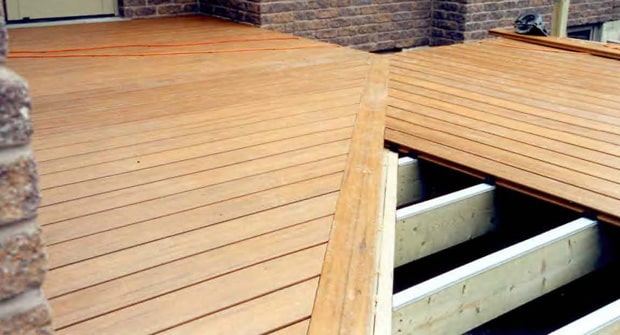
- Install your pattern board first on top of the cap board and fasten it in place.
- Miter the decking for the two adjoining sections to fit neatly against the edges of the pattern board for a clean joint.
