Railings: How to Install Aluminum Railings
Railings: How to Install Aluminum Railings DIY Deck PlansPlease check with your local building code enforcement agency to confirm the construction specifications if using Aluminum rails. This section is included as a general educational guide only. Consult the manufacturer’s installation guides for complete details.
Another option for your deck railing is a modular aluminum railing system. Aluminum is highly corrosion and rust resistant, strong and light weight. The modular systems, or S.T.A.R. makes the installation simple.
Snap Tight Aluminum Railing (STAR)
This section the installation process for the STAR system. The STAR system features a continuous, square aluminum top rail. The post bases feature base plates that slide down over the mounting bracket at the bottom each post to hide the bolt fasteners.
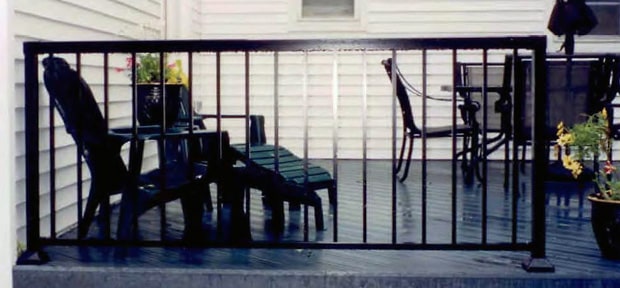
Aluminum Railing Installation
Since deck boards are not thick enough to support a fastener long enough to securely mount the STAR system posts, blocking needs to be installed in the deck frame, before decking is applied in every place that a post base will be mounted on top of the deck. Use long deck screws to secure the blocking.
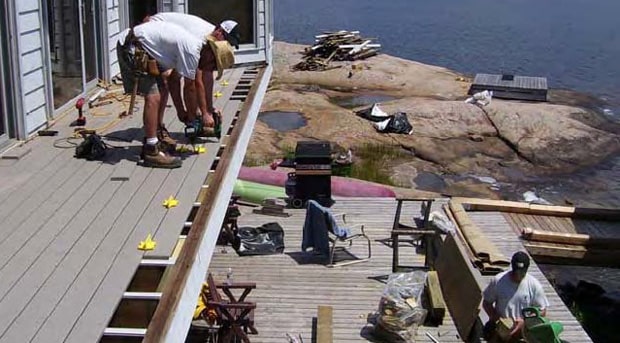
Measure and cut your posts using a reciprocating saw with a metal blade, circular saw with an abrasive blade, hack saw, or other power saw with a metal blade. Railings can be cut using the same tool.
- Measure the edge of the deck where the rail is to be installed.
- Evenly space the posts along the entire length of the area where the railing will be installed. Do not exceed the maximum length of rail section between posts.
- Install rail bracket to each post head for fastening rail in place.
- Cut top rail a little long at each end. Fit a top rail end cap to each end.
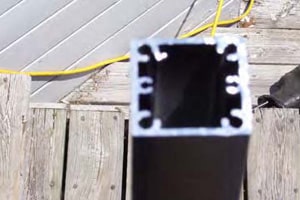
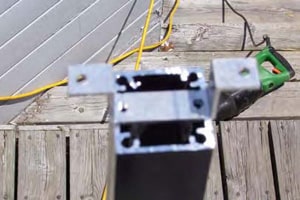
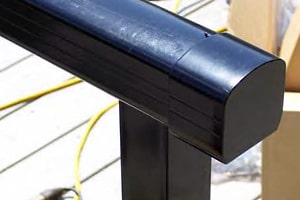
Top Mount Cover Sleeves
Where joints are required between sections of rail, a top mount rail sleeve is required. Mount the top mount cover sleeve on top of the post where the two sections meet. Cut your rail to fit into the cover sleeve on each side.
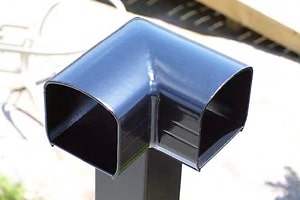
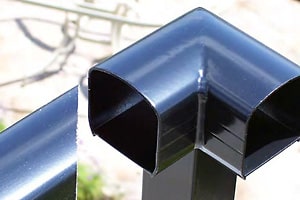
At every 90 degree corner, install a corner sleeve. Corner sleeves create a square corner by receiving a rail into each side of the corner. The sleeve is secured into place with screws from the underside. The rail is fastened in place with screws up from the bottom on each side.
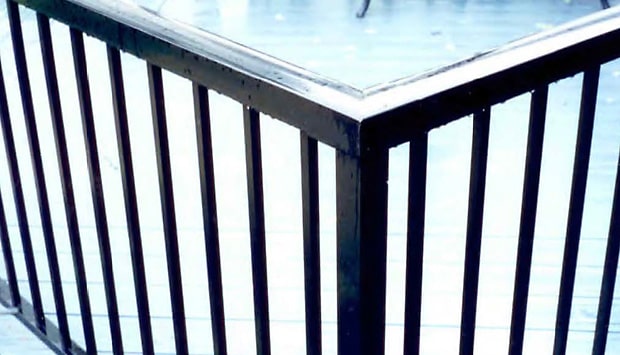
Where a rail terminates against the house you can choose to use an end post, with a top mount cover sleeve for the top rail, and the bottom rail mounting to the side of the post as you would for any post, or the railing can terminate against the house, supported by hardware brackets.
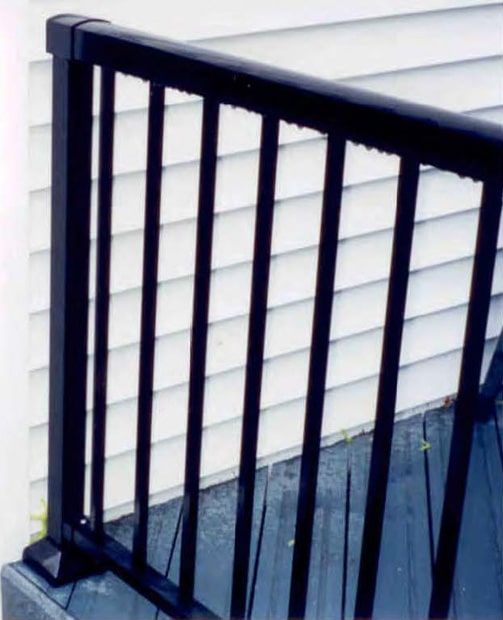
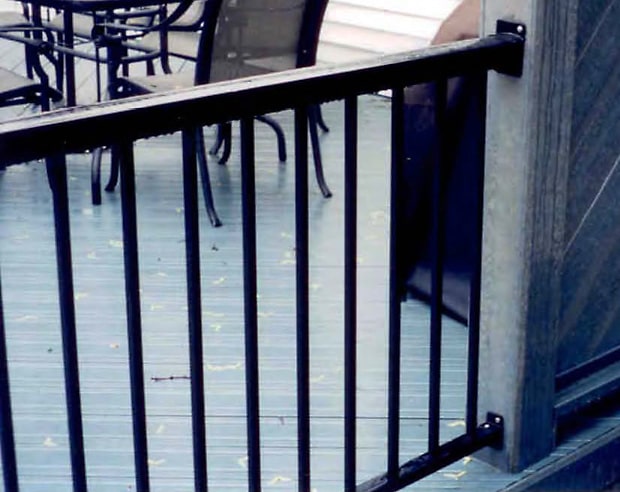
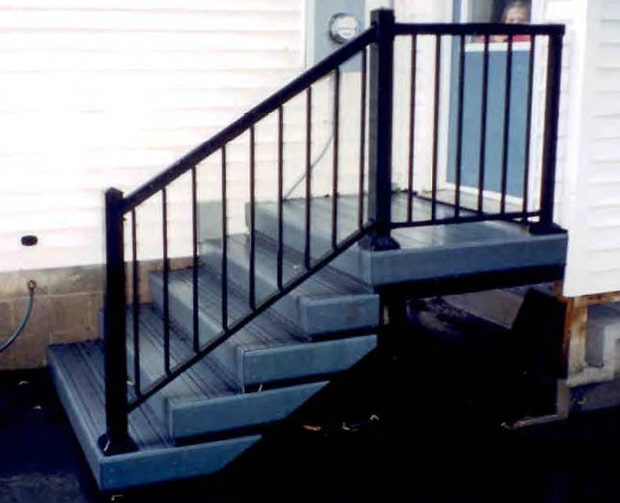
Stair rail sections are designed so that the top and bottom rails can run at the same angle as the stairs. The balusters are mounted loose to allow them to remain vertical, parallel to the posts. Mount a post at the top and bottom of the rail. Cut your rail section to fit between the two posts. Mount the rail to the top post and swivel the bottom end of the rail to fit in the brackets. Then attach using the supplied screws.
For more installation instructions, consult the manufacturer’s install manual for details.
Installing Glass in an Aluminum Rail
An aluminum railing system designed for holding glass has a U shaped top and bottom rail, with an open groove facing down from the top and a matching groove facing up from the bottom rail. The glass is slid into place, with the bottom rail attached at both ends, then the top rail is fitted into place.
Glass panels can be either “friction fit” or held in place by a gasket. Friction fit panels are installed with the glass directly against the aluminum rail. Gravity and a snug fit hold the panel securely into place. A gasket panel features a rubber strip in both top and bottom rails, designed to fit snugly against the glass.