How to Install Low Voltage Outdoor Deck Lighting
How to Install Low Voltage Outdoor Deck Lighting DIY Deck PlansOutdoor lighting, generally, is low voltage. Post lights and step lights are the most common. Lights are run in a continuous series through low voltage outdoor lighting wire from a transformer.
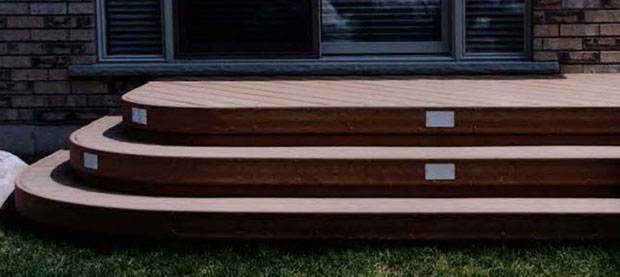
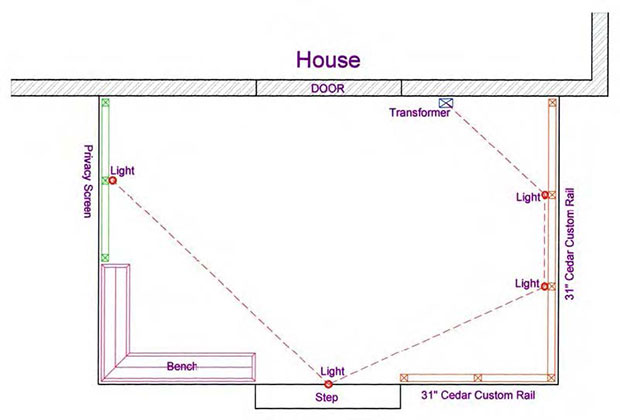
The wire starts at the timer/transformer, through each light and ends at the last light. Each bulb on average is 12 watts. Multiply the number of lights by each 12 watt bulb to calculate the transformer size. Example: 10 lights X 12 watts = 120 watt transformer. Check bulb watt size on larger planter lights, these bulbs are often larger. If a large number of lights are being installed, split the wire and branch it off the timer/transformer in two runs. Those two separate runs will allow the lights through the system to glow consistently.
Outdoor lighting is built in during construction. Step lights, post lights and planter lights are available router lens cover in flush with all decking materials.
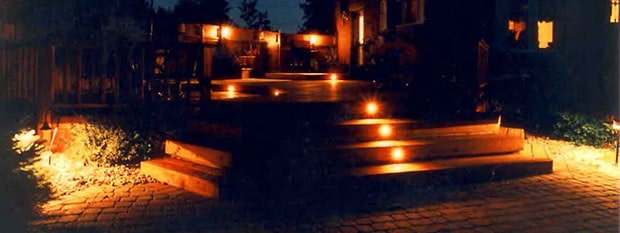
Ensure that all wiring is all concealed for an overall built in look.
Step light openings are cut and routered into the trim before the trim is installed.
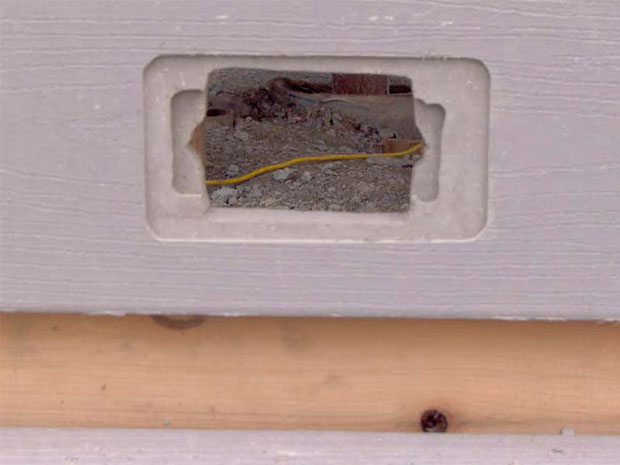
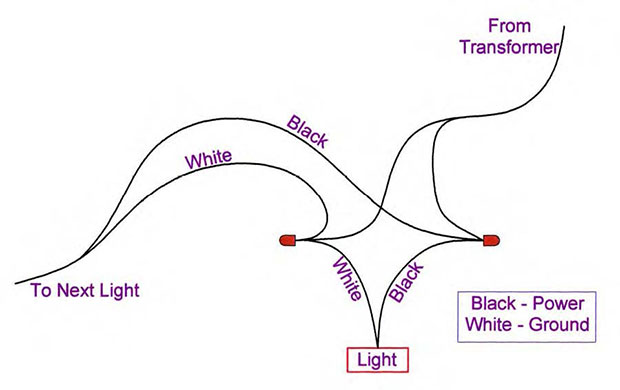
The lighting wire is run in a loop and fished outside of each step light opening.
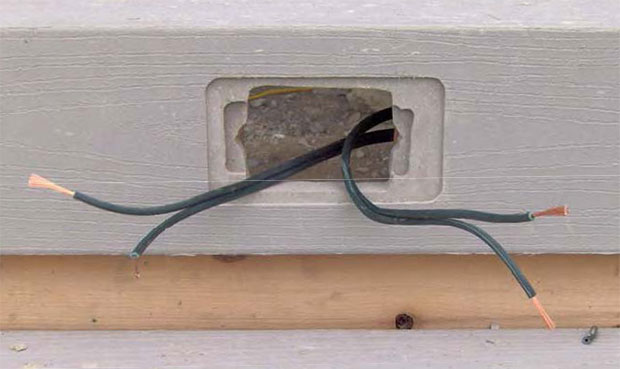
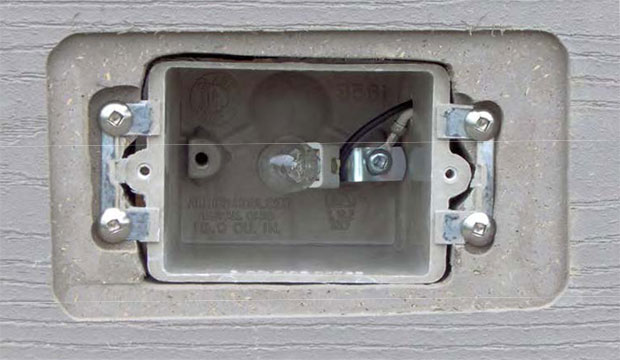
The fiberglass step light box is connected with man connectors.
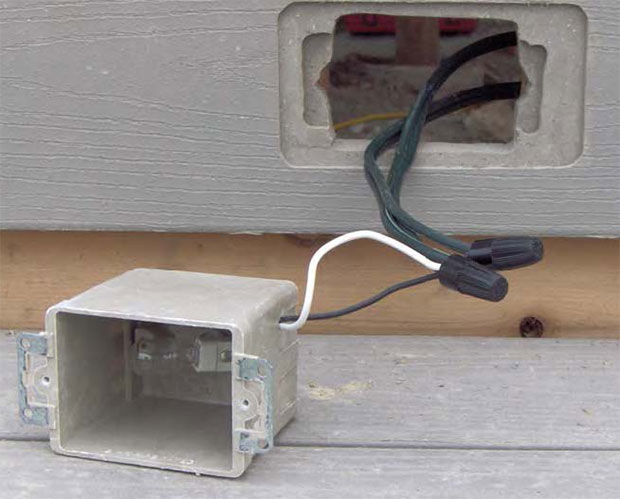
Secure the step light into the opening using four pan head screws and install the bulb.
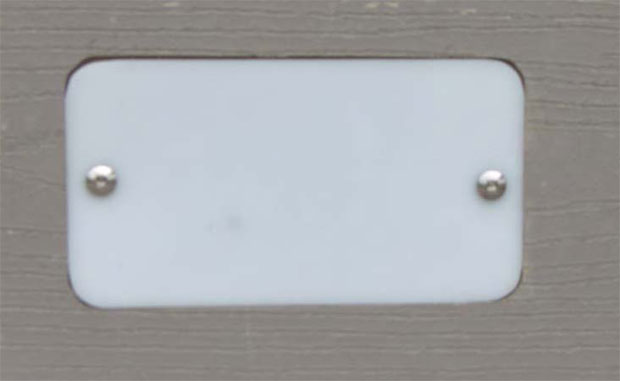
Secure the lens cover into place. Be sure the back side of the lens cover is clean before installing.
Secure the wiring in place using electrical staples. Keep the wire connection facing up.
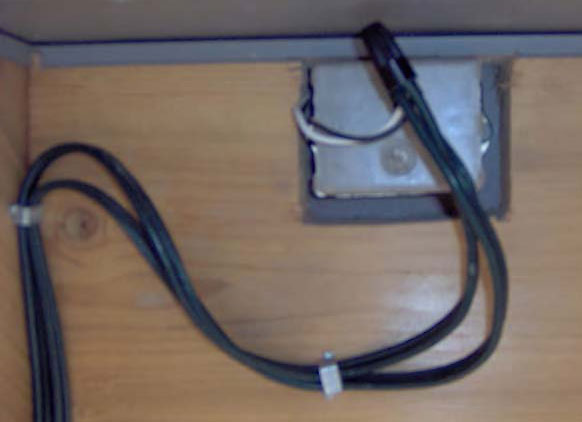
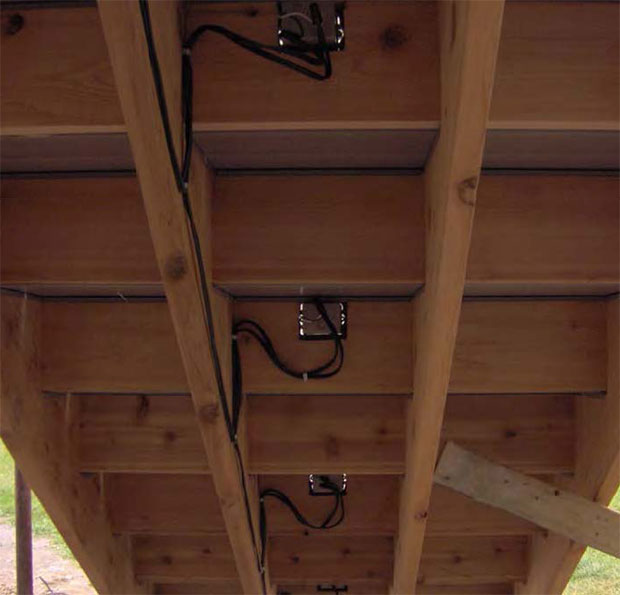
On riser stairs secure all wires neatly. Below is the final exposed look from the underside of the deck.
