Post holes are dug to create the footings that are the foundation of your deck, and just like your house, the deck is only as strong as its foundation. Our deck plans are designed to be used with poured footings and posts set in brackets attached to the top of the footing.
The footings are constructed using a round cardboard tube form that is 8” in diameter (often called a sonotube, after a popular brand). You should check your local building codes to ensure this is adequate to pass inspection in your area.
Pro Tip
Other footing options exist depending on where you live. In temperate regions, such as a the southwest United States, posts are often set into the concrete footings and extended up to support the deck.
If your local building code permits this type of construction it is easier, faster, and less expensive. When using this style of support, set the post’s base in at least 2 inches of small gravel at the bottom of the footing hole, to prevent water from building up around it.
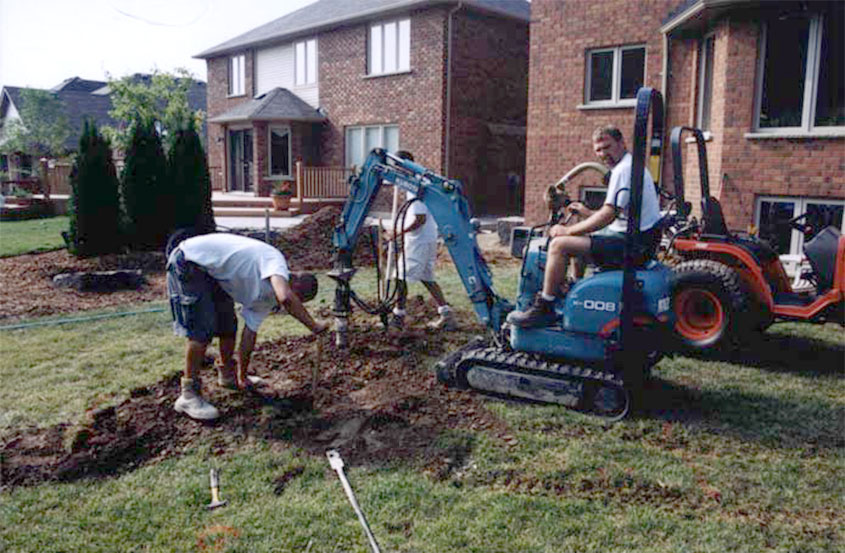
Digging Your Footings
You have already marked your footing locations in your deck’s layout. At each location, dig a hole, deep enough to pass your frost line by at least two inches and wide enough to accept the cardboard form and leave an inch or two on all sides.
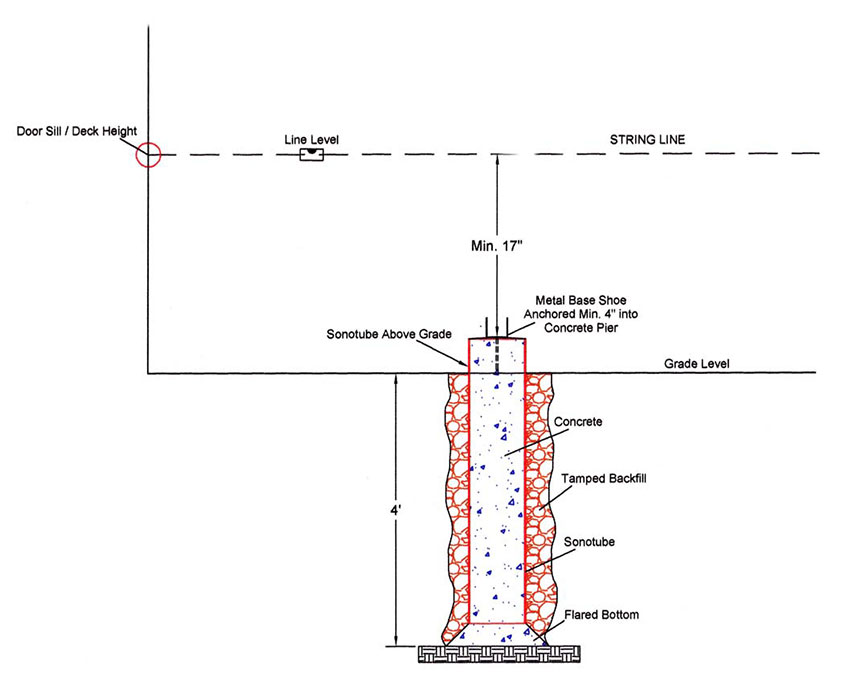
On the safe side, dig your footings at least 48 inches deep, or check with your local code enforcement. Your deck will not pass inspection with inadequate footings and the posts can be forced up by frost when the ground freezes, known as “heaving” which can destroy it.
- Dig each footing 48 inches deep and 10 to 12 inches across, centered on the location you marked when laying out your deck. Make sure each footing is dug in line with the strings you tied between your corner stakes.
- The bottom of each hole should be flared out slightly on all sides, to provide a larger “foot” at the base of the footing, to further discourage movement.
- Shovel 2 to 3 inches of concrete into the bottom of each footing hole before inserting the cardboard form.
- Measure and cut each cardboard footing form to rest on top of the concrete you shoveled in and rise to 2 inches above grade to prevent the post from standing in water.
- Shovel dirt into the hole to backfill around all sides of the cardboard form to keep it vertical. Use a small level across the top of the tube and adjust to that for a level post base.
- Use a wrecking bar, or small shovels to tamp the earth in around the form. Be careful not to tear the form, or shift its position.
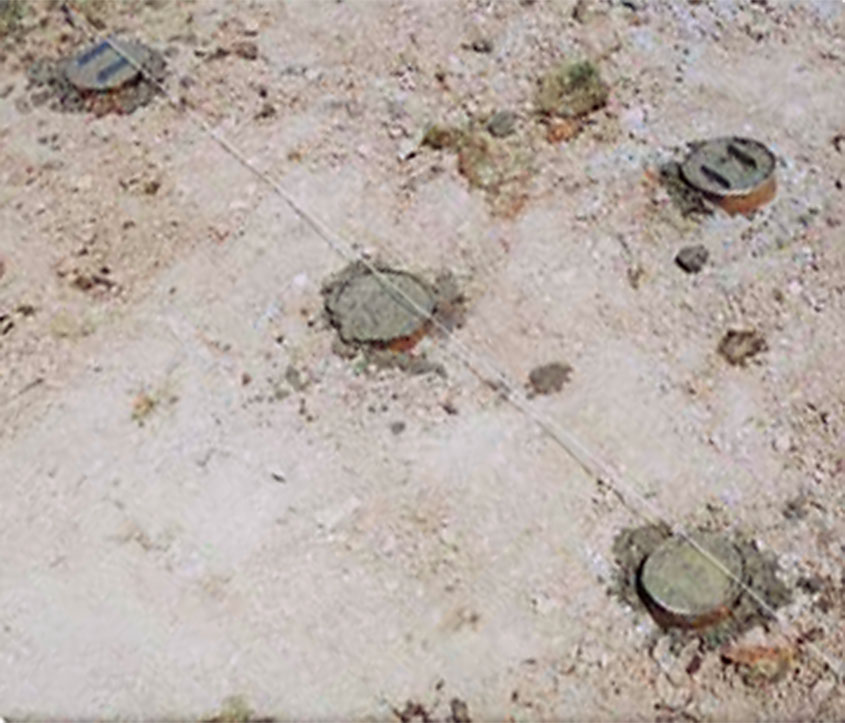
- Fill the concrete form to the top with concrete. Level off the top with a float.
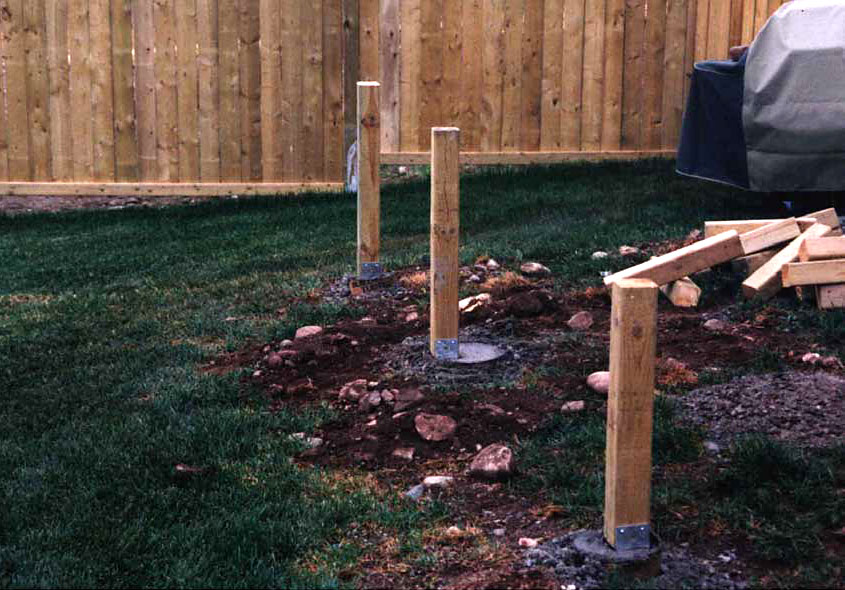
- Position a bracket on top of each footing, so that it aligns with the required post placement. The open side should face up, with the bracket aligned to the inside of the string.
- Set corner brackets first and stretch a string between them for positioning of the remaining brackets
- Set remaining brackets
Pro Tip
Some brackets come with lags, or bolts attached that sink into the concrete. For flat bottom brackets, use 3 inch Tapcon style concrete anchors and a hammer drill to attach the brackets, once the concrete is fully set. They are cheaper, stronger and easier than lead sleeve anchors.
Determining Deck Height
Set your deck height even with the bottom of the door threshold, or sill. Mark a line along the house wall at this height with a chalk line. Make a second below the first so that it is the same distance below the top line as the thickness of your decking.
Adjust the outline strings you setup during layout to match the height of the bottom line. This will indicate the top edge of the deck’s frame.
Cutting Posts
Measure down from the outline string to the bottom of the bracket on top of each footing. Cut a piece of Pressure Treated (PT) 4x4 lumber to fit this measurement for each footing. These are your deck support posts.
- Mark all four sides for a smooth, square cut.
- If available, use a miter saw for best results.
- If you use a circular saw, it will take two cuts. Cut along the line on one face, roll the post ½ way over and cut along the line on the opposite face.
Installing Posts
Fit each post into the bracket it was cut for, so that all post tops are level and even with the outline string. Make any adjustments in post height now by trimming them down if they are too tall, or replacing posts cut to short.
- Set each post into its bracket and check it for “plumb” (vertically level) with a level.
- Drive one treated deck screw through each hole in the bracket.
- Double check post placement and height with a string and level. Make any adjustments now before framing is in place.