Do you have a hot tub? Whether you have a hot tub on a concrete pad, or are looking to build a deck to support your spa, we have deck plans for a deck with a spa.
Decks to Support a Hot Tub
Hot tubs and spas require more support per square foot than an empty deck, or one with only benches and other furniture. This is known as the “live load” and is measured as pounds per square inch. You will need to check your local building codes to determine what type of footing your hot tub requires.
Low and Grade Level Decks
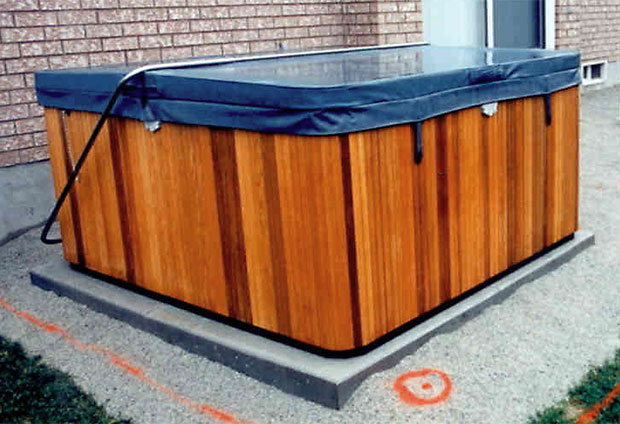
On short decks, the hot tub is not typically installed on top of the deck. Instead, a concrete pad, poured according to local building code, is installed to provide a footing for the hot tub and the deck is then built around it. Framing members should be left 1 inch away from all hot tub surfaces, on all sides, to allow room for removal of the hot tub if required. Decking can easily support the short cantilever required to fill the area close to the hot tub.
When deciding how tall your deck will be, keep in mind the transition from deck to hot tub and plan to accommodate easy access. A 16 to 18” rise from the deck surface to the top edge of the hot tub is common. Take any exterior motor housings and steps on the hot tub itself into account. It is best to work with dimensions taken directly from a hot tub set up in the same configuration and with similar equipment to the one you are installing.
Other Considerations
It’s a good idea to have your pad poured so that there will be at least a 6" lip of concrete on all sides of the tub. This allows for repositioning, or support of motors and other necessities.
If the hot tub cover has a manual, or automatic arm to install and remove it, get specifics on clearances and all dimensions of the arm and its operation. Clearances from the cover to the bottom of the tub and the rise from deck to tub edge will be important as well. You may need to check these dimensions with the hot tub on site.
Familiarize yourself with the motor mount and dimensions, including height and required maintenance access areas. Customized framing for lift out access panels will likely be required to accommodate these elements. This can be done on site, with the hot tub in place.
Installing Decking
Install decking up to ¼” from hot tub to leave room for expansion, contraction and slight shifting of both the deck and the hot tub.
Tall Decks and Hot Tubs
If the deck level is higher than the top of the hot tub, or the deck is built on uneven ground, the hot tub is placed on top of the deck. The area under the hot tub should be framed as a separate system, with its own footings. Check with local building code to determine spacing requirements for posts. Adjust the height of the hot tub deck framing to match with surrounding deck height, making allowances for 2x6 under decking and other differences.
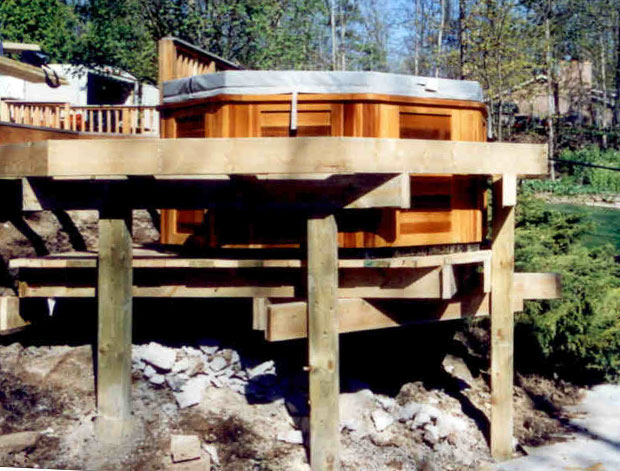
Standard 4x4 posts can be used for supports, and 2x8 joists will support the weight of most typical hot tubs. Check local building codes for footing requirements. Twelve inch on center spacing between joists underneath the hot tub will help provide extra support and 2x6 decking is preferred. If composite decking is being installed on the rest of the deck, install the 2x6 deck underneath and cover it with composite up to the hot tub for the right look, without sacrificing structural integrity.
Framing Lift Out Hatches
Lift out hatches can be framed into the deck to provide access to elements underneath the deck. This is useful for water faucets and other features that might be underneath the deck, as well as hot tubs and swimming pool equipment. Once decking is installed on both the deck and the hatch, the top of the hatch is flush with the deck making it almost invisible.
To frame a lift out hatch, mark it’s location on the deck’s joists. If the hatch is to be wider than 14 ½ inches, or whatever the spacing of your joists will be in that area, a section of one or more joists will need to be removed.
Mark the four corners of the hatch required and add 1 ½ inches on ends where joists will be cut away. Use a chalk line to mark the joists between these four corners and cut joists away where they cross the area for the hatch. Install perpendicular blocking between the nearest uncut joists to hold up the ends of these cut joists.
Make the blocking from joist material and install it flush with the ends of the cut joists to create the ends of your hatch opening. Support the blocking ends with joist hangers and fasten the cut joists to the blocking, with their top edges level so that all joists and blocking are level with the deck frame.
Inside Framing
Cut and install a rectangular ring of 2x4 PT lumber inside the rectangle you formed with the blocking. Fasten this ring 3 ½ inches down from the top of the deck frame. This will be the support system for your hatch frame.
Build a second ring ½ narrower and shorter than the first. This ring sets on top of the first so that there is a ¼ inch space on all sides. This is the frame of the hatch. Install decking up to the hatch frame on all sides. Cut deck boards to cover the hatch frame, so that there is a 1/8 gap between the hatch and the main deck on all sides. Attach the pieces to the hatch frame. Drill a 1½ inch finger hole through the deck boards at each end of the hatch for lifting.
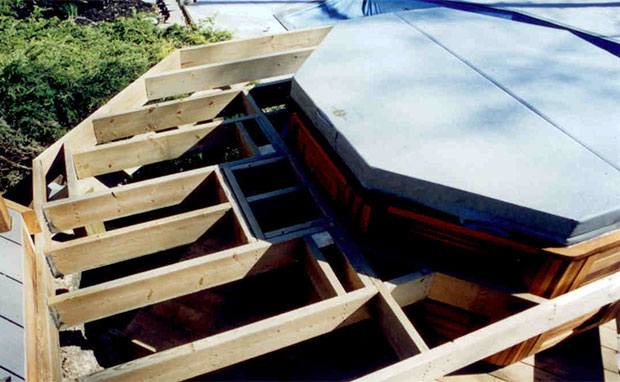
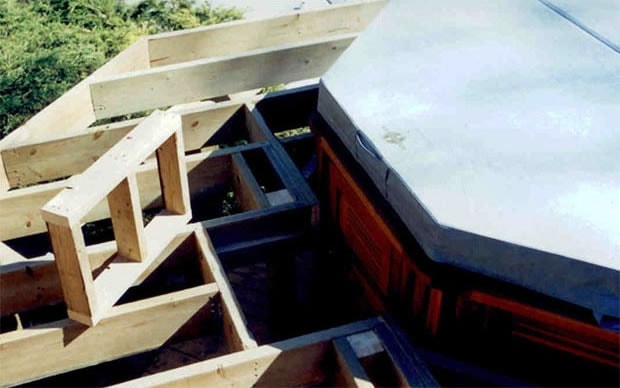
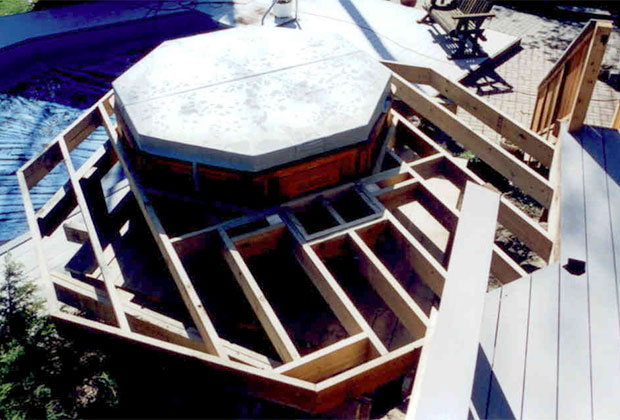
Framing Around an Octagonal Hot Tub
When working around an octagonal hot tub, the frame is built up to the hot tub, leaving a square opening with 1 inch clearance from the hot tub on four sides. Install angled blocking one inch away from the remaining sides of the hot tub made from joist material. This allows room for the hot tub to be removed if needed while supporting the decking.
Have a look at some of our deck plans for decks with hot tubs and spas.